Saturday, September 18, 2010

New Reenactment Goodies

I just got my order from Jas. Towsend and Son, and I'm pretty excited about it! I couldn't afford the actual silver wear at this time, at $30, but I'm hoping to get by with my wooden spoons! I know, it's pretty ridiculous, but I'm only a poor college student. Hopefully my fellow reenactors will be understanding and not mock me for my (I'll admit) rather lame utensil-substitutes.

Here are pictures:


(Tin plate, wooden spoons, and bamboo tea strainer)


(Tin candle holder, three beeswax candles)


(Quart-sized tin mug, glass bottle)


(Showing how enormous the quart mug is!)


(Cotton muslin liner I made for the bamboo strainer, as my tea-leaves went through every tiny hole in the strainer!)

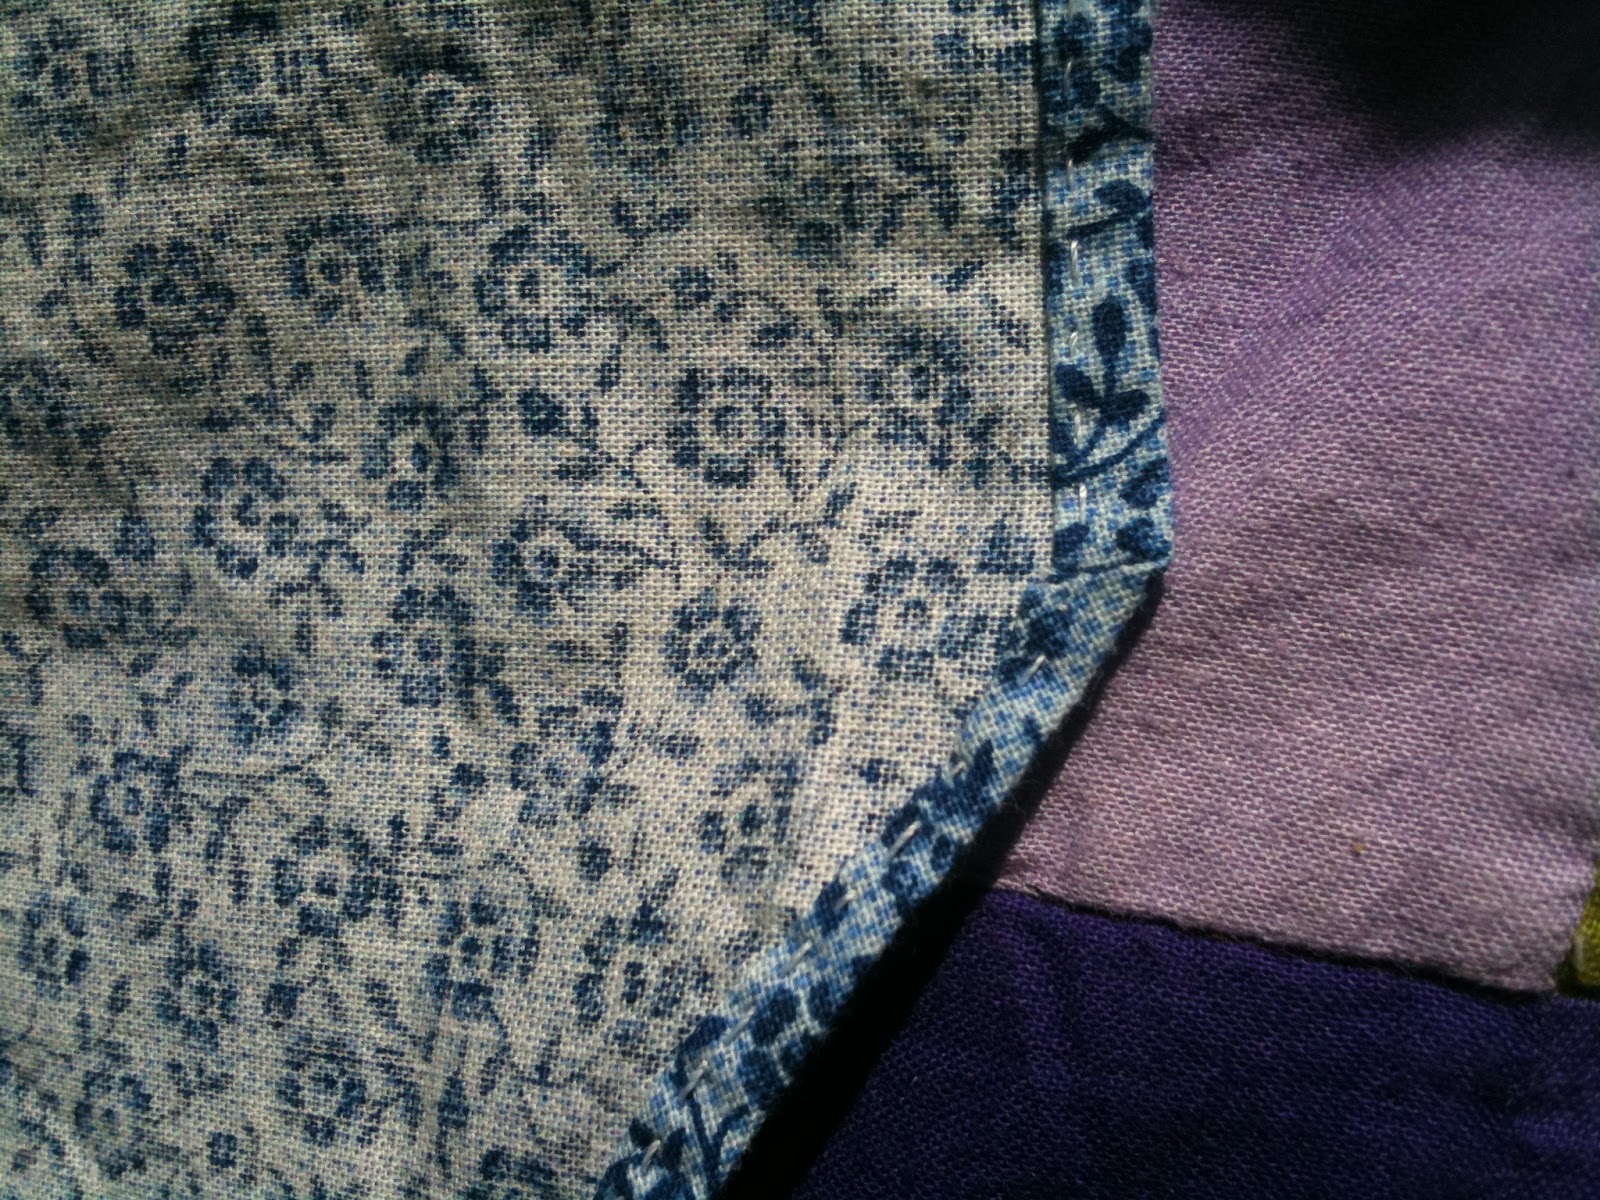
Here are some preview pictures of my quilt-lined winter hood. I'll try to get some pictures of the finished thing (I just need to sew up a couple raw edges and it will be done!) uploaded soon :)


(Stitching the quilted lining to the flannel outer.)

(You can sort of see the flower design I decided to do in the center of the lining.)

For now, I'm done. I have both a sun bonnet and a winter hood, and someday I'll get around to trimming my bonnet, at which point I will have quite a respectable collection of 1860s headwear. Now what I *need* is a second pair of drawers, as I only have one, and it's quite a nuisance for three-day weekends!

Tuesday, September 14, 2010

Elizabeth Stewart Clark Slat Bonnet

Today I finished the slat bonnet I've been meaning to get to for ages now! It is from the instructions on elizabethstewartclark.com, and was mad simple to do, once I got everything together. I never started till now because I needed to buy the appropriate cotton, but Sunday I got myself to walmart (the only place that sells fabric within a 10 mile radius of this school, and bought stuff for both the bonnet and the winter hood I have also been wanting to make. I'll get to work on said hood, a pattern from Peter's Magazine (inspiration for this hood can be found herehere, and here.). I'm not sure if I should expect more or less sewing on the hood, because I'm not sure if I'll be hemming the whole edge or not. I did the bonnet all by hand, mostly because I don't have access to a sewing machine here at college! But it was a good experience, and having something made entirely by hand is really pleasing.

Here are some production pictures I took:
(With some cardboard slats in place.)


(The oatmeal box I used for cardboard.)

(The hem along the edge.)

(Where facing and bonnet fabric meet.)

(Close up of patch I made on the facing.)

 (All slats in place, not yet trimmed.)

(Whip-stitching across top of slat pockets.)

(Bonnet tie.)

(Finished product.)


One thing I'd mention if you are planning on making this is that a 1/4 inch seam allowance is needed, but the instructions don't mention the fact until after telling you to cut the fabric. I realize that as good pattern-followers we all ought to read and memorize every step, but I tend to be sloppy with these things (despite my very best efforts to stay in control, I always seem to get ahead of myself!). I didn't put the seam allowance in and it turned out fine, but for a longer "cape" and brim, the 1/4 inch would probably be beneficial.